
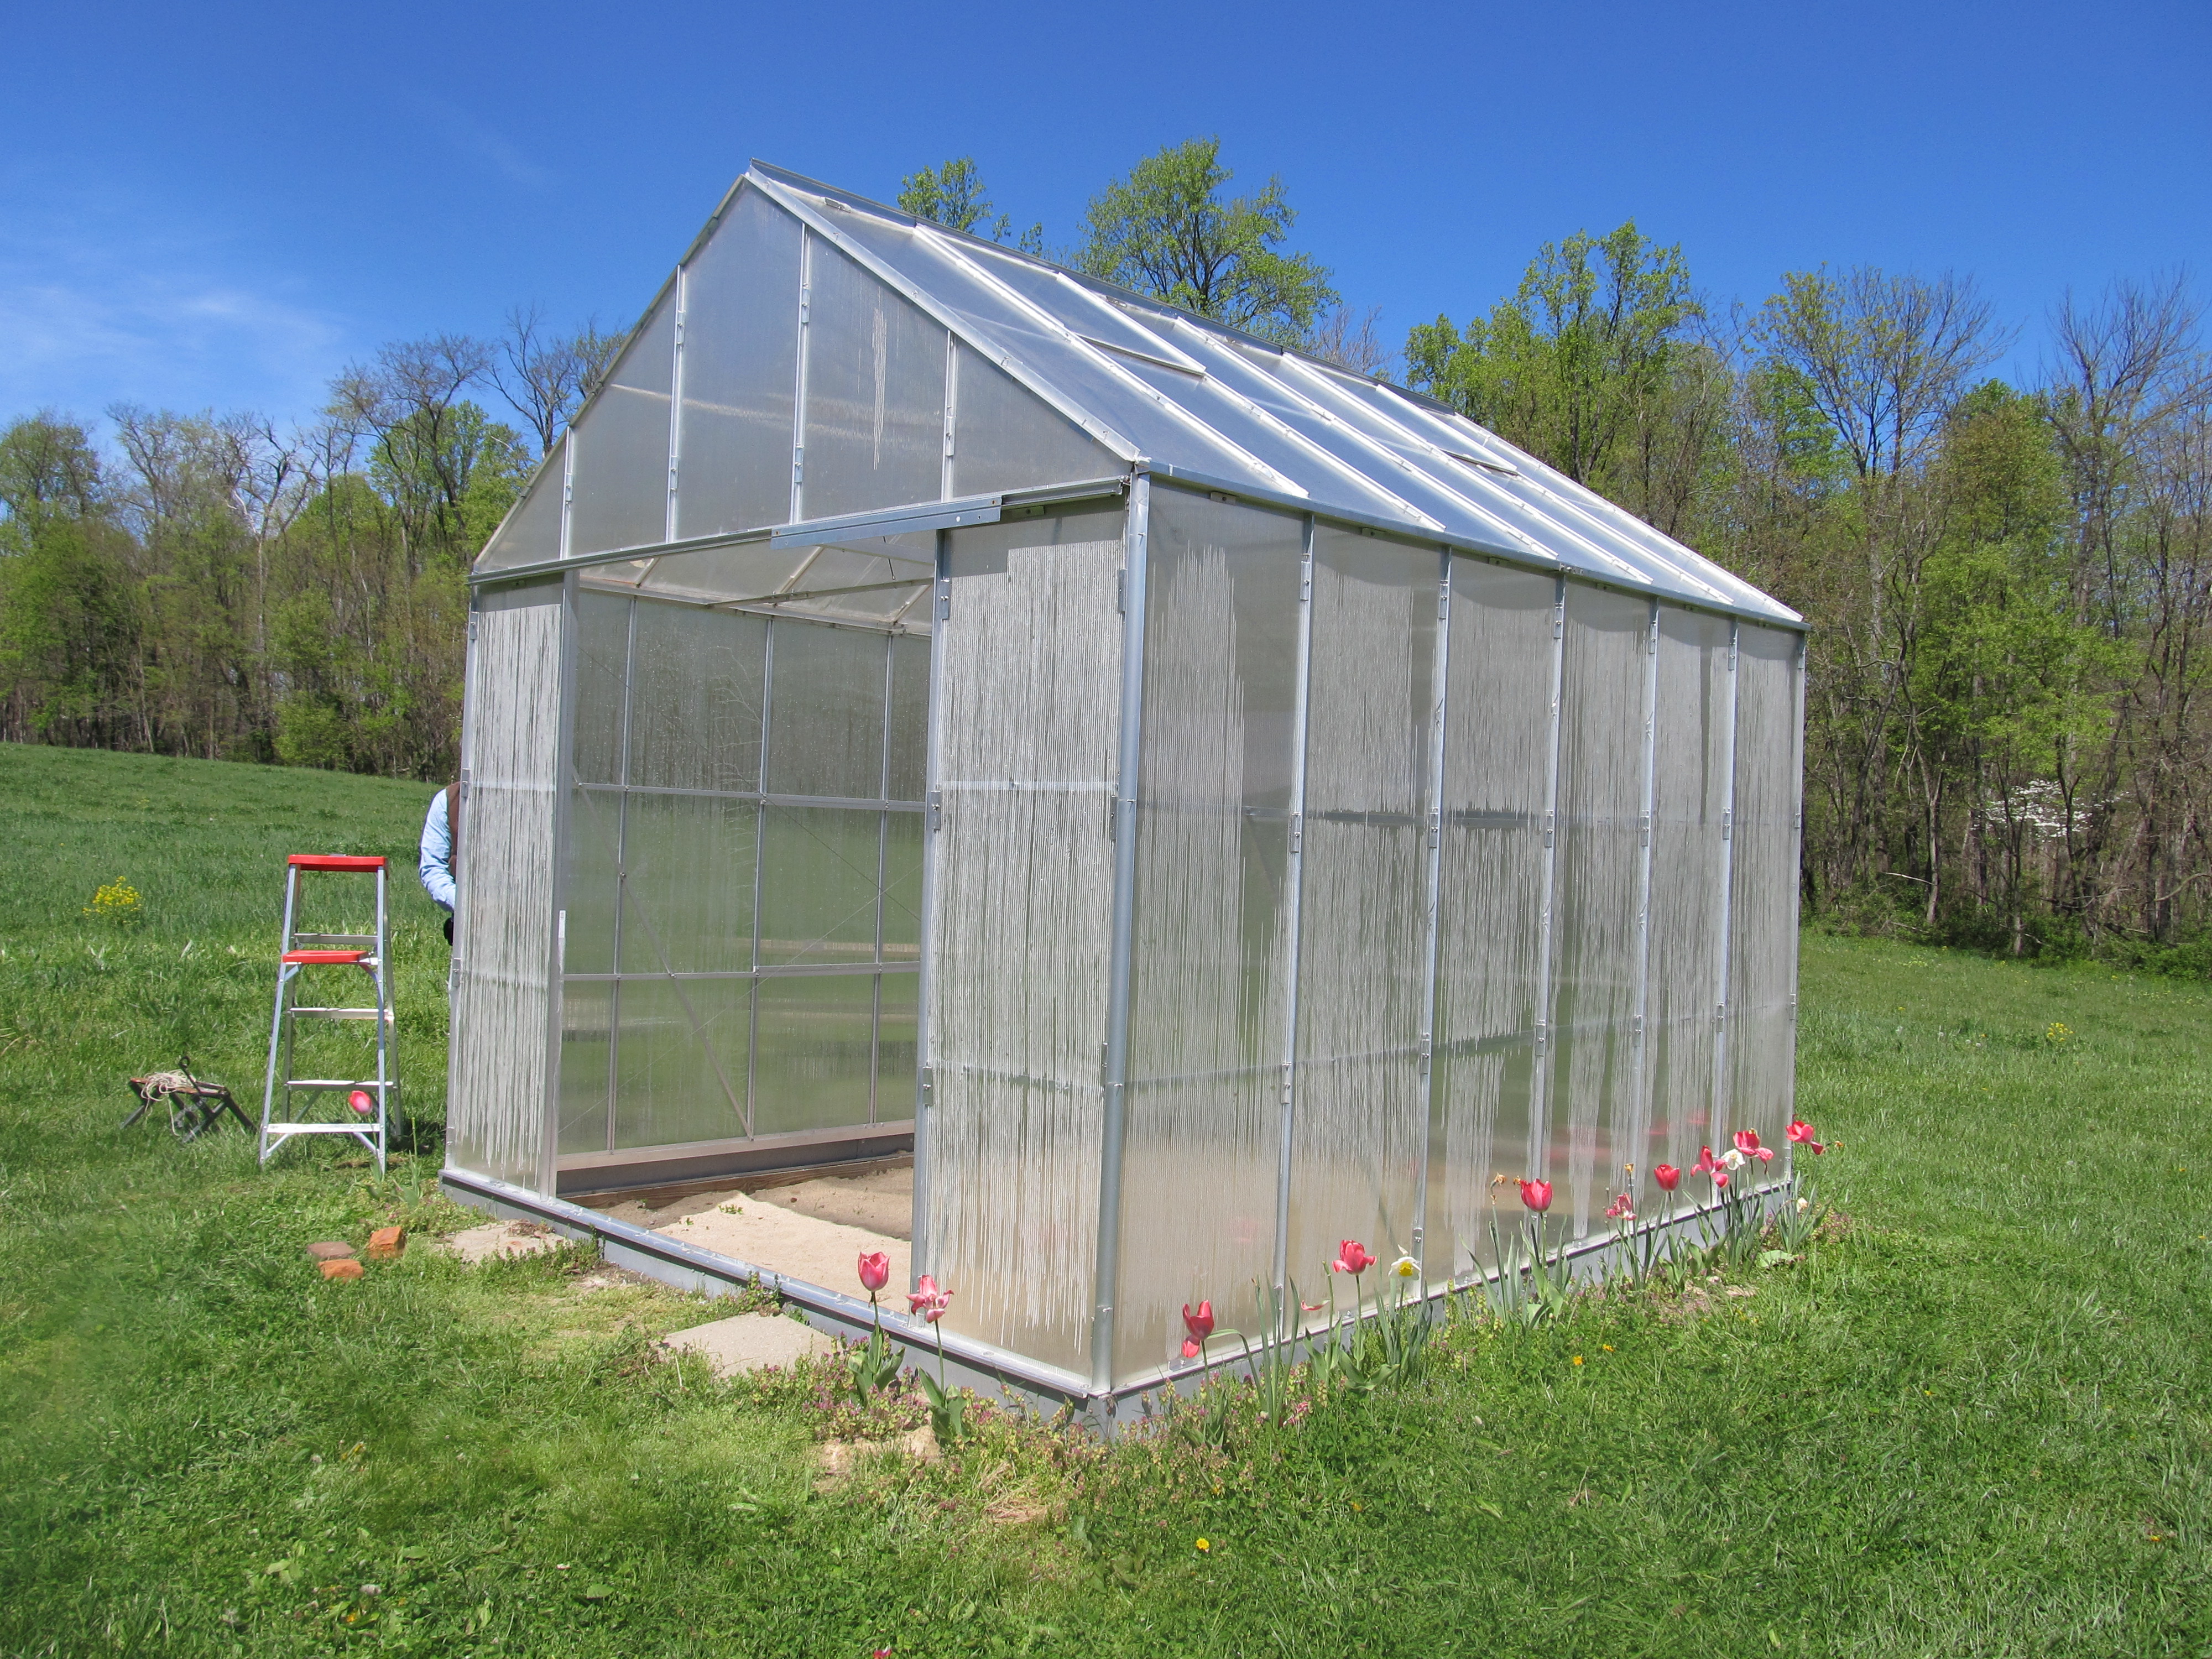
My greenhouse in the spring!
It’s mid-March in the Midwest and time to start thinking about the garden. Like most serious gardeners, my husband and I start seeds in my greenhouse giving plants a head start on the growing season. In January I spent hours paging through seed catalogs selecting delectable vegetable and herb seeds; all the while dreaming of summertime and fresh food. Today I seeded four varieties of tomatoes, four varieties of sweet peppers, two varieties of hot peppers, cabbage, broccoli, brussels sprouts, cauliflower, leeks, and a variety of herbs. It should take between 7-21 days for the seeds to germinate.
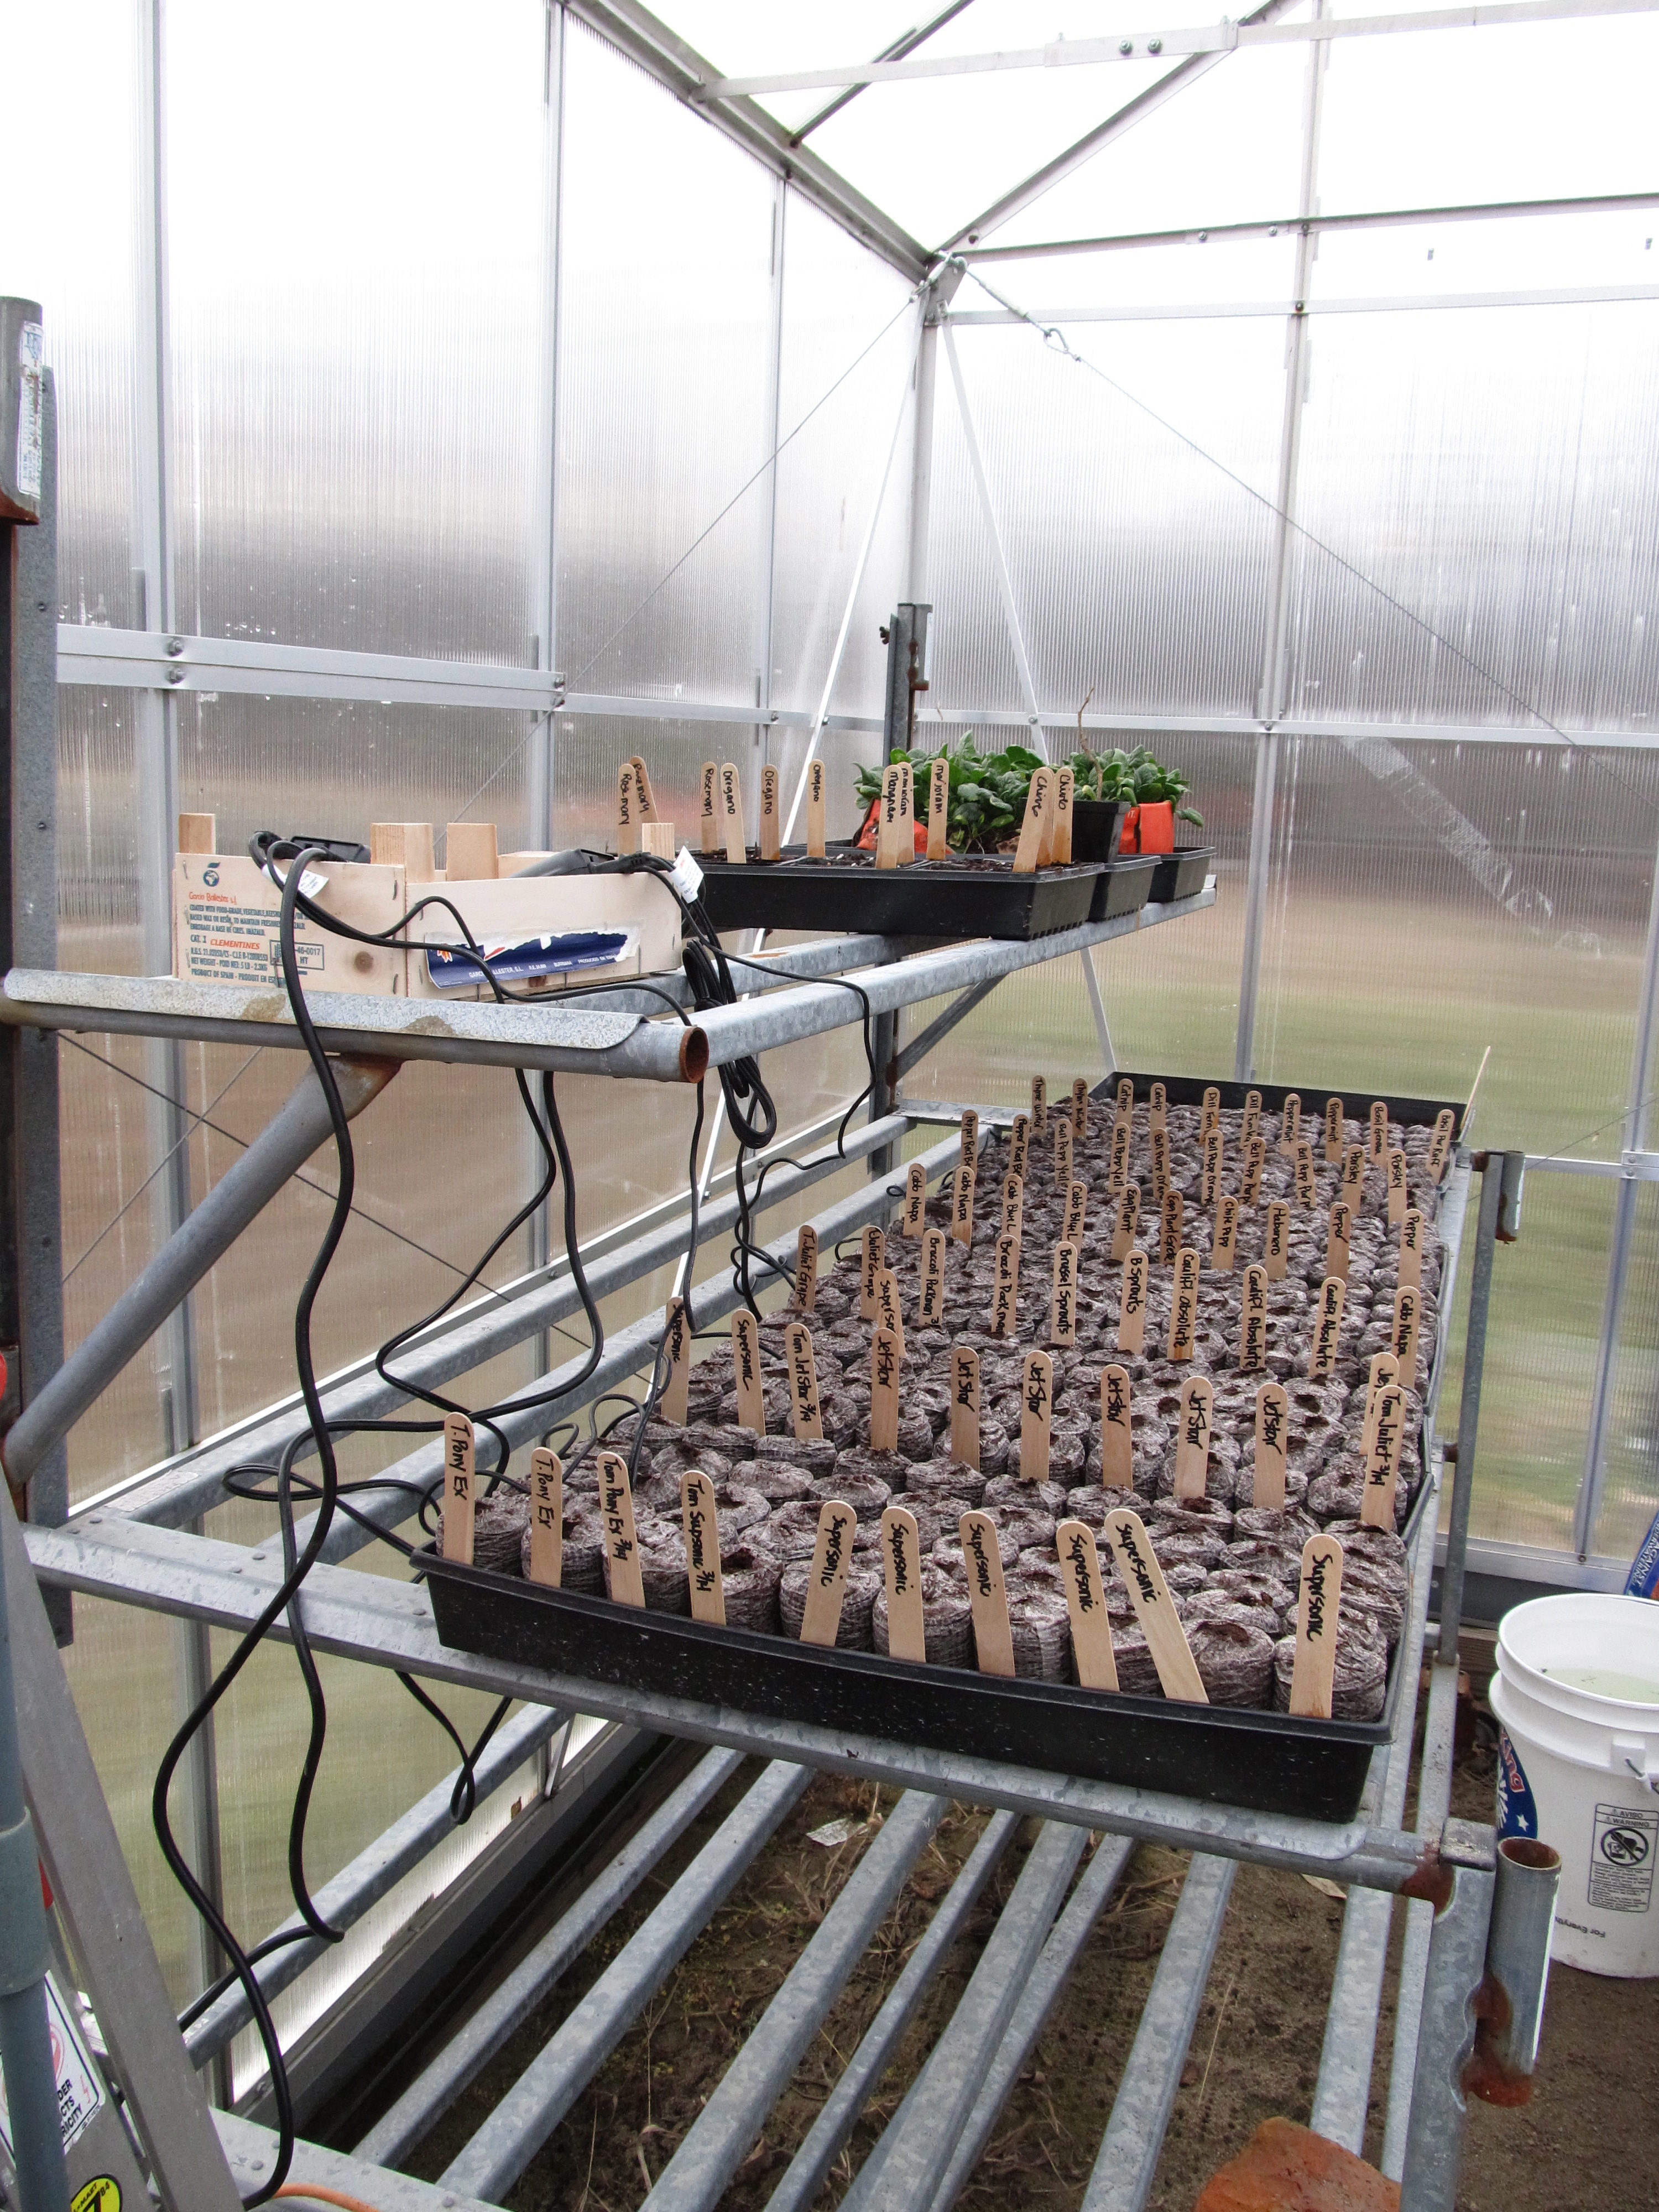
- Trays of seeds sit on heating mats to increase soil temperature and improve germination.
The greenhouse is a great space to retreat when winter just won’t give up. On a sunny day the temperature inside is so warm you have to take your coat off to remain comfortable. Just a few weeks from now we will have to open the doors and windows to prevent over-heating. I think of the greenhouse as a plant nursery. Within 6-8 weeks the plants will be moved out and into the garden.
How to start seeds….
Starting seeds is not difficult and does not require a great deal of equipment. Seeds can be started in a sunny window in your house, but because of the number of seeds I start, the greenhouse is the best choice for me.
Equipment
- sterile potting soil or Jiffy peat pellets
- seed trays, individual cups, tray-pack containers
- wooden sticks and sharpie
- water and large container
- heating mats (optional)
- dibble stick (or pencil)
The process…
For most seeds, I use Jiffy peat pellets. They come in different sizes and are very convenient to use. Jiffy pellets come dry and compressed into little discs but have a porous skin on the outside. To use, immerse the pellet in water in a large container, until completely expanded, then remove from water and place in seed trays, flats, etc. Peat pellets or individual cups encourage root growth, provide a convenient way to transplant seedlings to the garden with no waste, and don’t disturb root systems. Peat naturally retains water which is important to young seedlings which is why I prefer them to soil mixes.
I use plastic trays to hold plants, but also use what I have on hand. Cardboard and wooden trays, or low-rise boxes work too. You will need the container to hold up for several weeks and it will get wet. Make sure the container allows water to drain and that it did not contain toxic material.
Once pellets are expanded and in trays, a pencil works wonderfully to make a depression in each pot. This is called dibbling. Check the planting depth listed on the seed packet and depress the pencil down in the center of the pot. All that’s left to do is drop a seed in each pellet, squeeze gently to cover seed, then press down gently on the top of the pellet with your hand. Seeds require good contact with soil in order to germinate so compressing the pellet ensures soil contacts the seed properly. For seeds with germination rates of less than 90%, I drop two to three seeds per pellet, or if the germination rate is below 75% I suggest putting a pinch of seeds in each pellet. You can always thin plants to one per pellet after germination. Use a marking stick to name and date the seed type started. I recommend keeping the seed package because it contains information needed to plant the seedling into the garden. The packet could also be laminated and used as a row marker in the garden and as a reminder of which varieties you grew.
If you don’t want to invest in peat pellets, you can purchase a wooden mold that shapes newspaper strips into a seed cup. These are available on the internet or from seed companies. Paper cups work too; whatever I use, I make sure it will decompose in the earth and enrich the soil in my garden.
With the exception of just a few seed types, I start my seeds in individual pellets/cups so the root system is not damaged when transplanted into the garden. While some seedlings can be bare-rooted with success, I prefer not to interrupt root growth. Having said that, I did plant leeks today by broadcasting them into a tray to germinate. After the seedlings are 2-4 inches tall I will transplant them into pellets or tray packs to grow until planted in the garden.
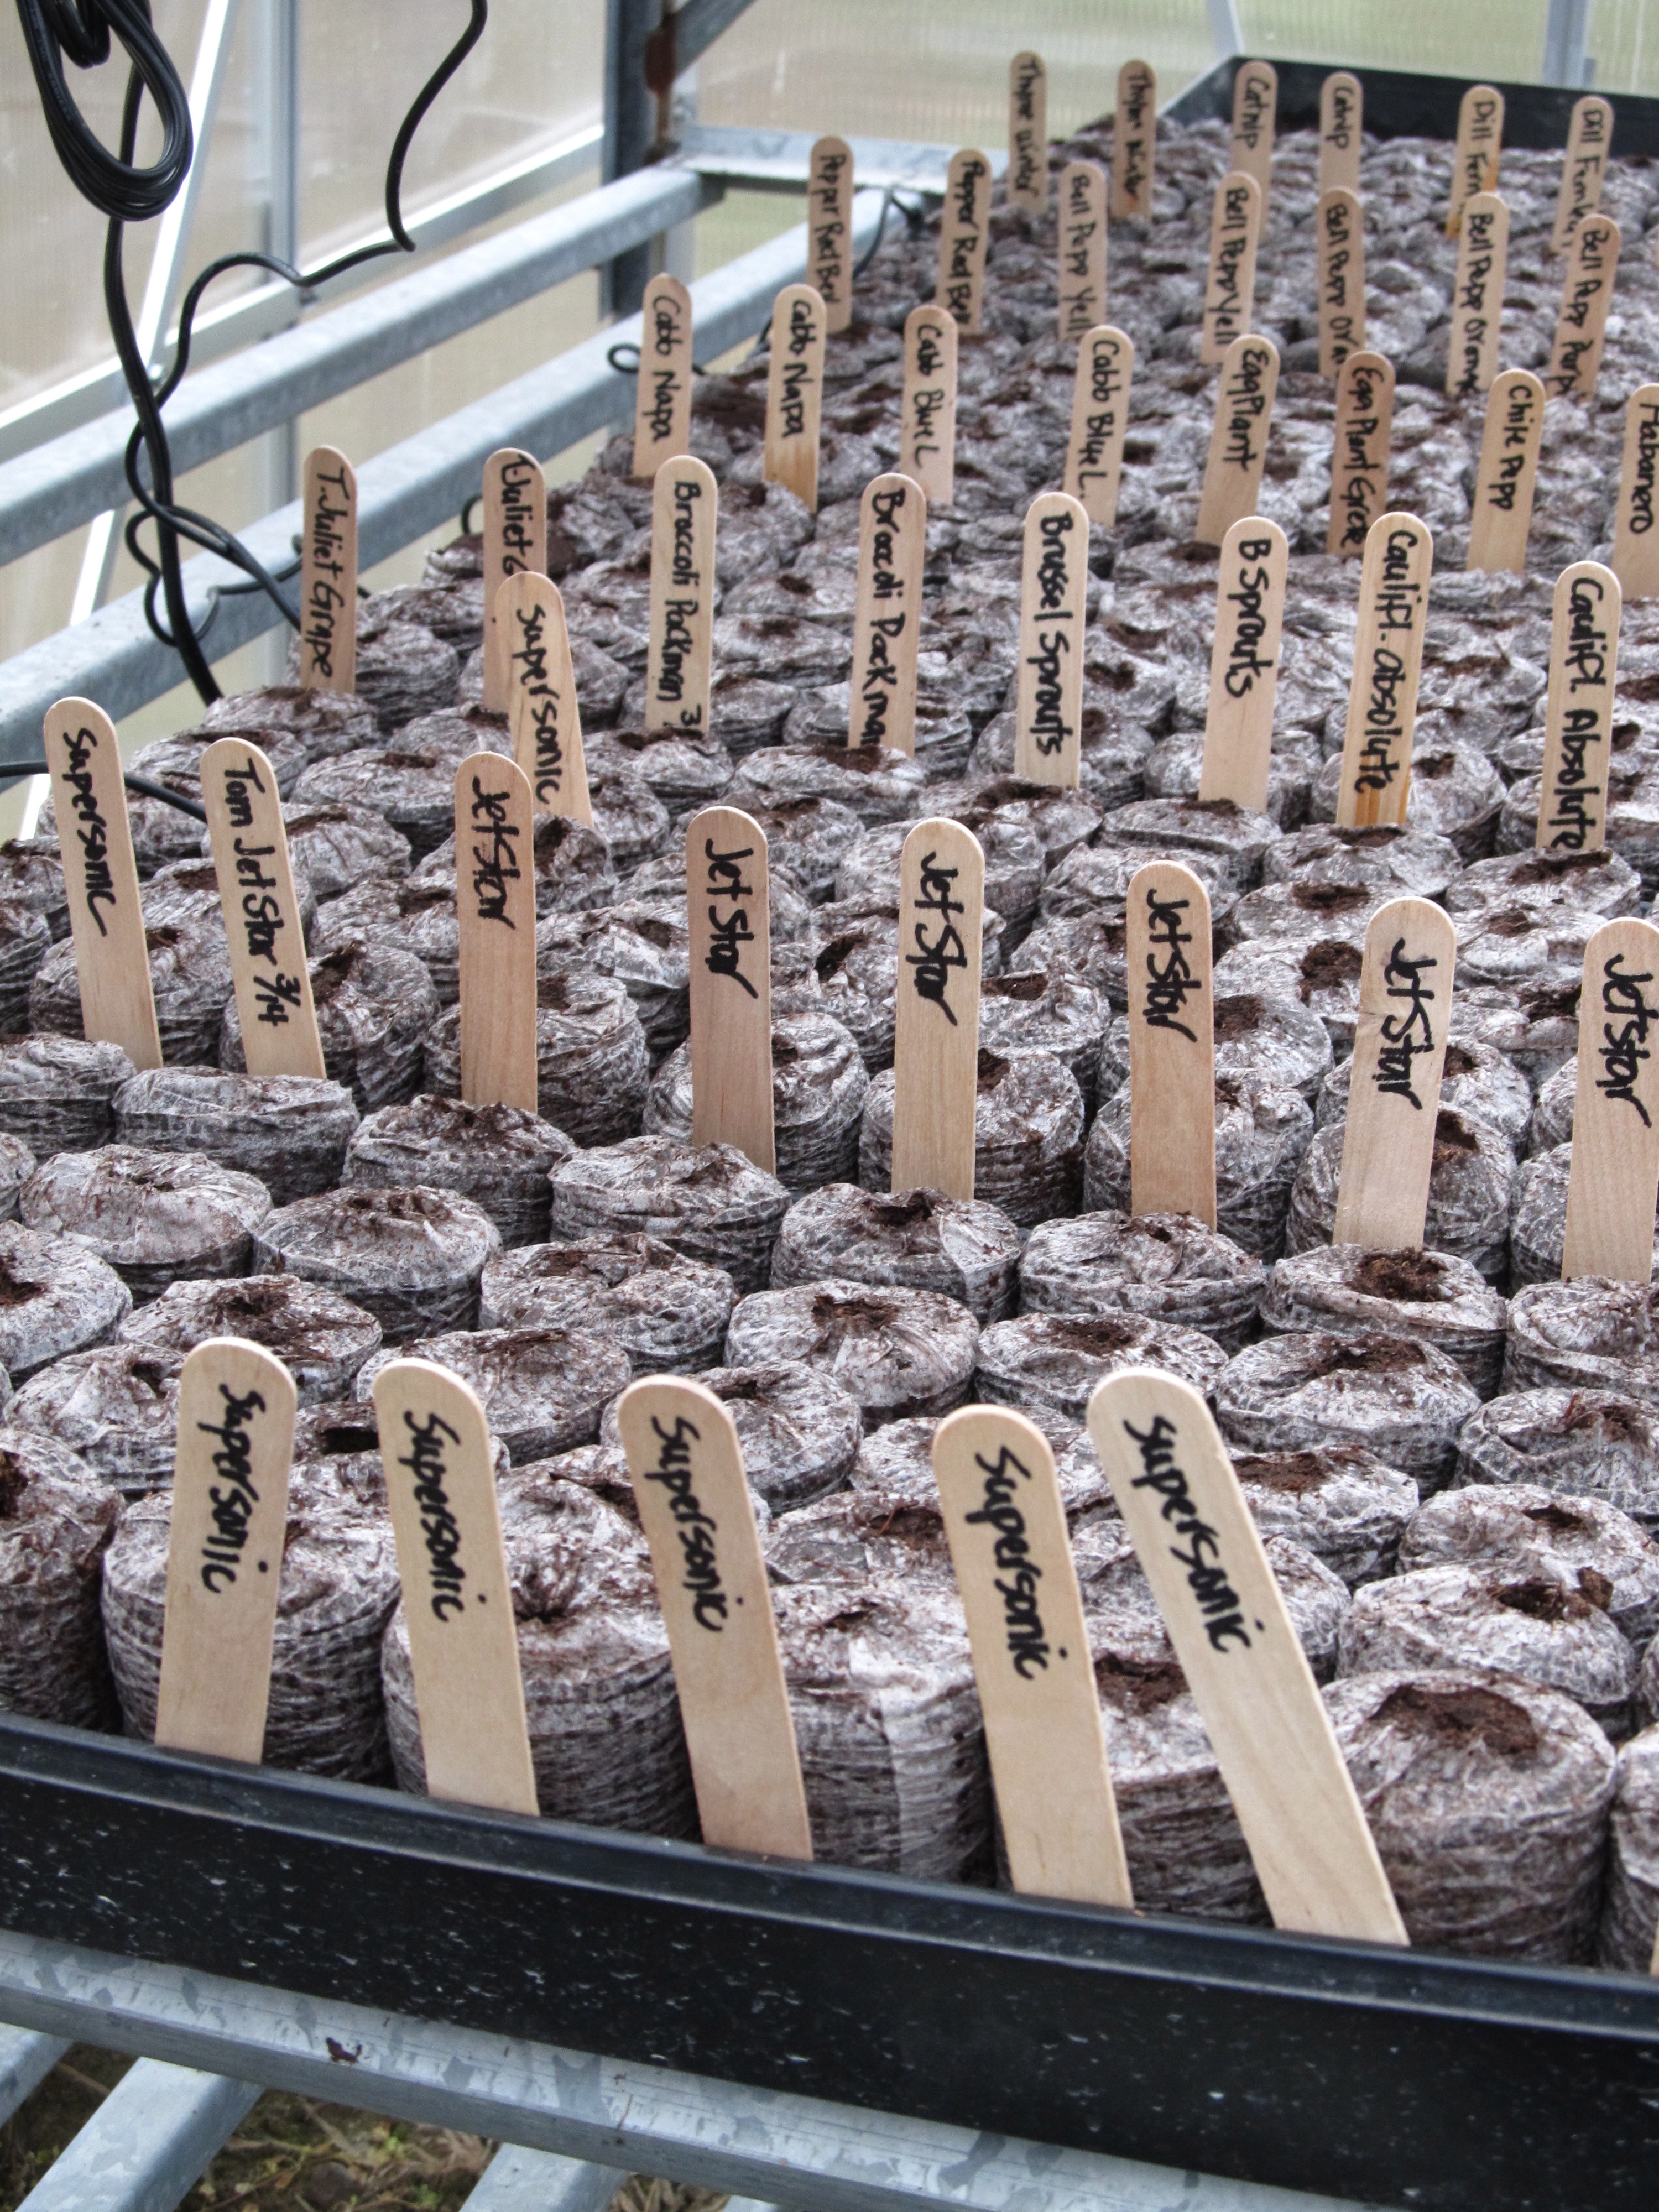
Jiffy’s make easy work of starting seeds. Make sure to identify seed types and date started.
After seeding, the pellets, trays, cups need to be watered regularly to maintain soil moisture. Generally seeds germinate quicker if some humidity is present. Once seedlings have germinated, water in the morning so the stems and leaves have time to dry before dark because excess humidity and cool temperatures encourage plant diseases. It is necessary to check plants daily to make sure they are moist and not over-heated. You can “cook” young plants if soil dries out or it becomes excessively warm.
After the seedlings emerge, sunlight is needed to facilitate growth.
Feeding the plants
Seedlings may be fertilized with your choice of plant food. There are many commercial plant foods which ensure proper plant growth when used as recommended. Remember if using jiffy pellets, plants need to be fertilized regularly because peat does not have adequate nutrients to maintain growth. Commercial potting soil can be purchased with slow-release fertilizer already in the mix. However, monitor growth and begin fertilizing if growth slows.
Animal manure can be safely used as fertilizer in the garden but it is important to be aware it may contain pathogens that could be transmitted to humans. E-coli and salmonella outbreaks occasionally make the news resulting in public awareness that frightens consumers. Being an informed and educated gardener removes the fear factor when using animal manure. If you raise animals and would like to use manure instead of purchasing fertilizer, do the research and follow through with recommended management procedures. Land grant universities such as Purdue University offer valuable resources through their extension programs.
Fresh manure should only be used on the garden in the fall after harvest, to winter-over and enrich the soil for the next growing season. During the growing season, manure can be used but must be composted first. Composting manure (manure needs to reach a temperature of 140 degrees F) reduces the transmission of pathogens by way of heat treatment. Composted manure may be used as a side-dress, meaning it should not be placed directly on the plant, but tilled into the soil surrounding the base of the plant. Do not apply directly onto plants. Root vegetables should be washed thoroughly before being consumed.
An important note
Compost is a wonderful thing for the garden, but do not start seeds in compost! Seeds need sterile soil / potting mixture in order to discourage disease. Compost is best used when incorporated into the soil prior to planting. Also if you make your own compost, make sure the compost has time to cure before using on plants. If not properly aged, it can burn plants.
Final thoughts
We used heating mats this year, placed underneath the trays to encourage germination. Thermostats are available for the mats allowing you to set the temperature to match the seed temperature requirements. I have not used them in the past, and during cool springs, seed germination was delayed, reduced, or prevented. I will let you know what germination results we get this year….
Magazines frequently recommend using egg shells or egg cartons as containers for starting seeds. Don’t use them! They are too small unless you are using goose eggs. There is not enough room for proper root system development and the plants become top-heavy very quickly.
If you are hesitant about your ability in growing plants, or you think you don’t have enough time, start small. Get a good resource on gardening or talk with a friend that gardens. Identify a vegetable or two that you love. Decide if you will grow them in the ground or in containers. Take advantage of varieties that carry disease resistance. Order seeds from a reputable seed dealer or purchase plants from your local greenhouse.
Be Bold, Be Creative… Take a chance and enjoy the Simple Pleasure of eating something you grew!
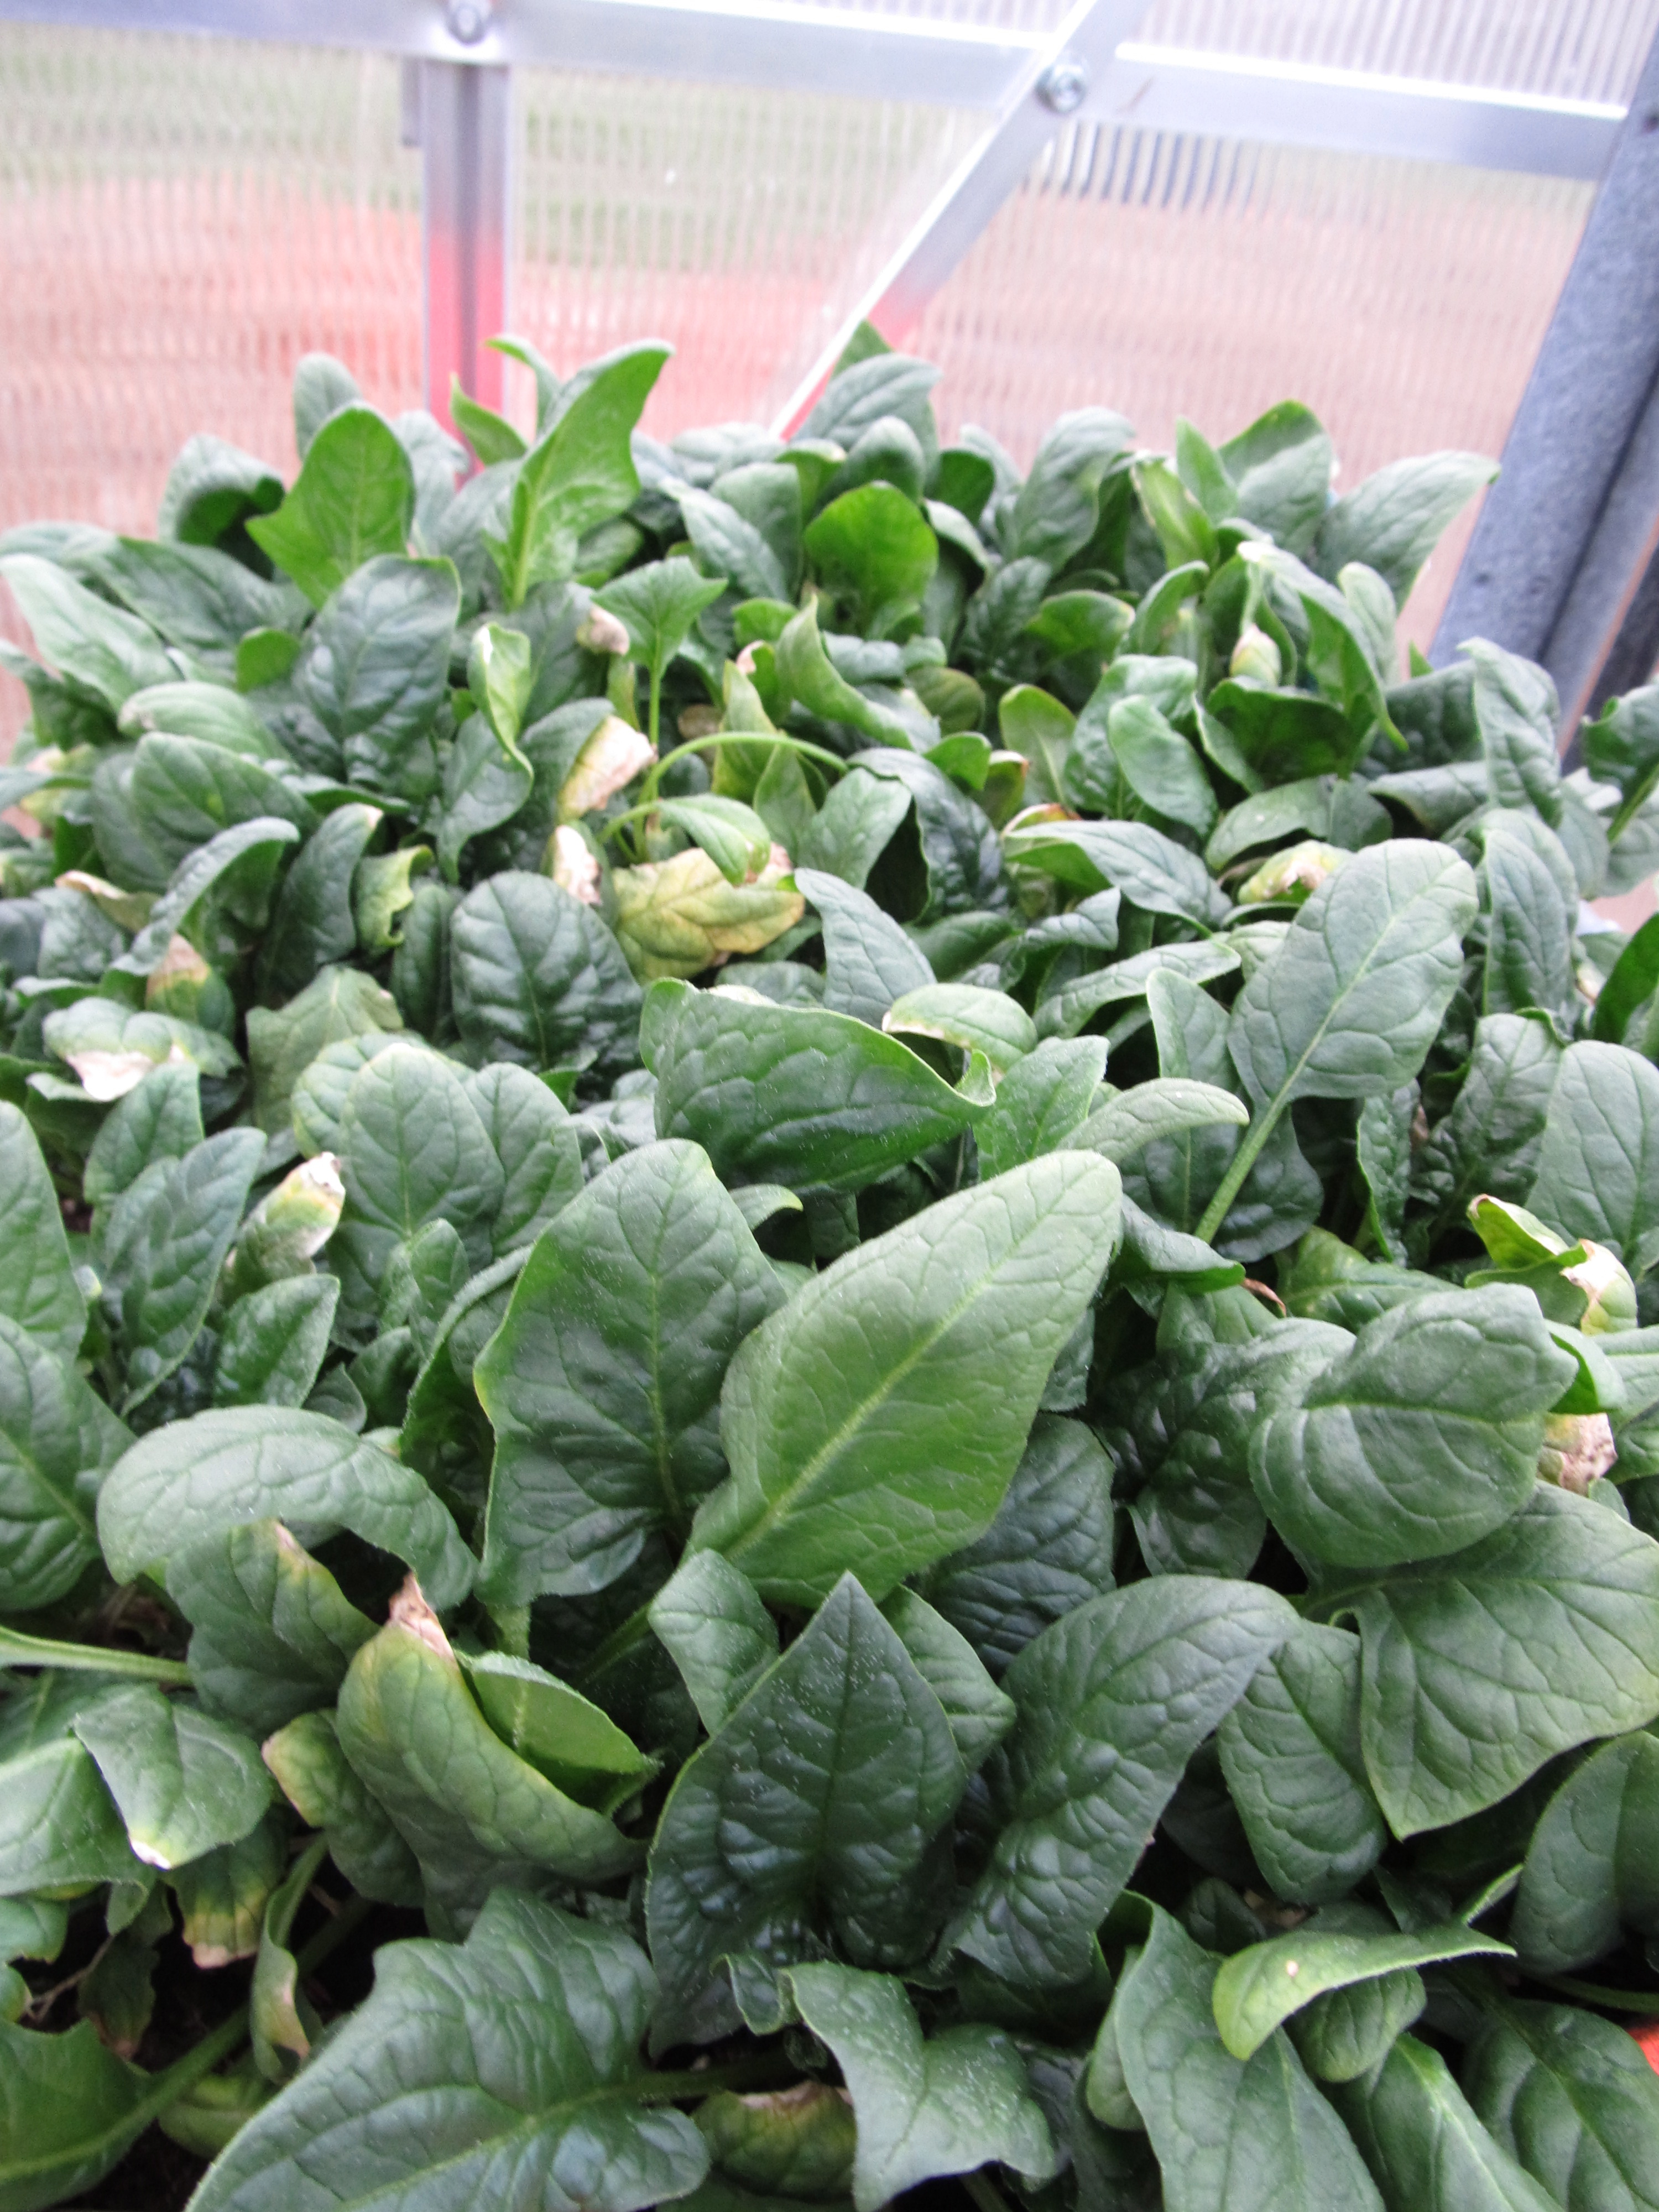
I grew this tray of spinach in my greenhouse this winter. I harvested spinach for Thanksgiving, Christmas, and it’s ready again. I’ll keep it growing until the spinach in the garden is ready.
