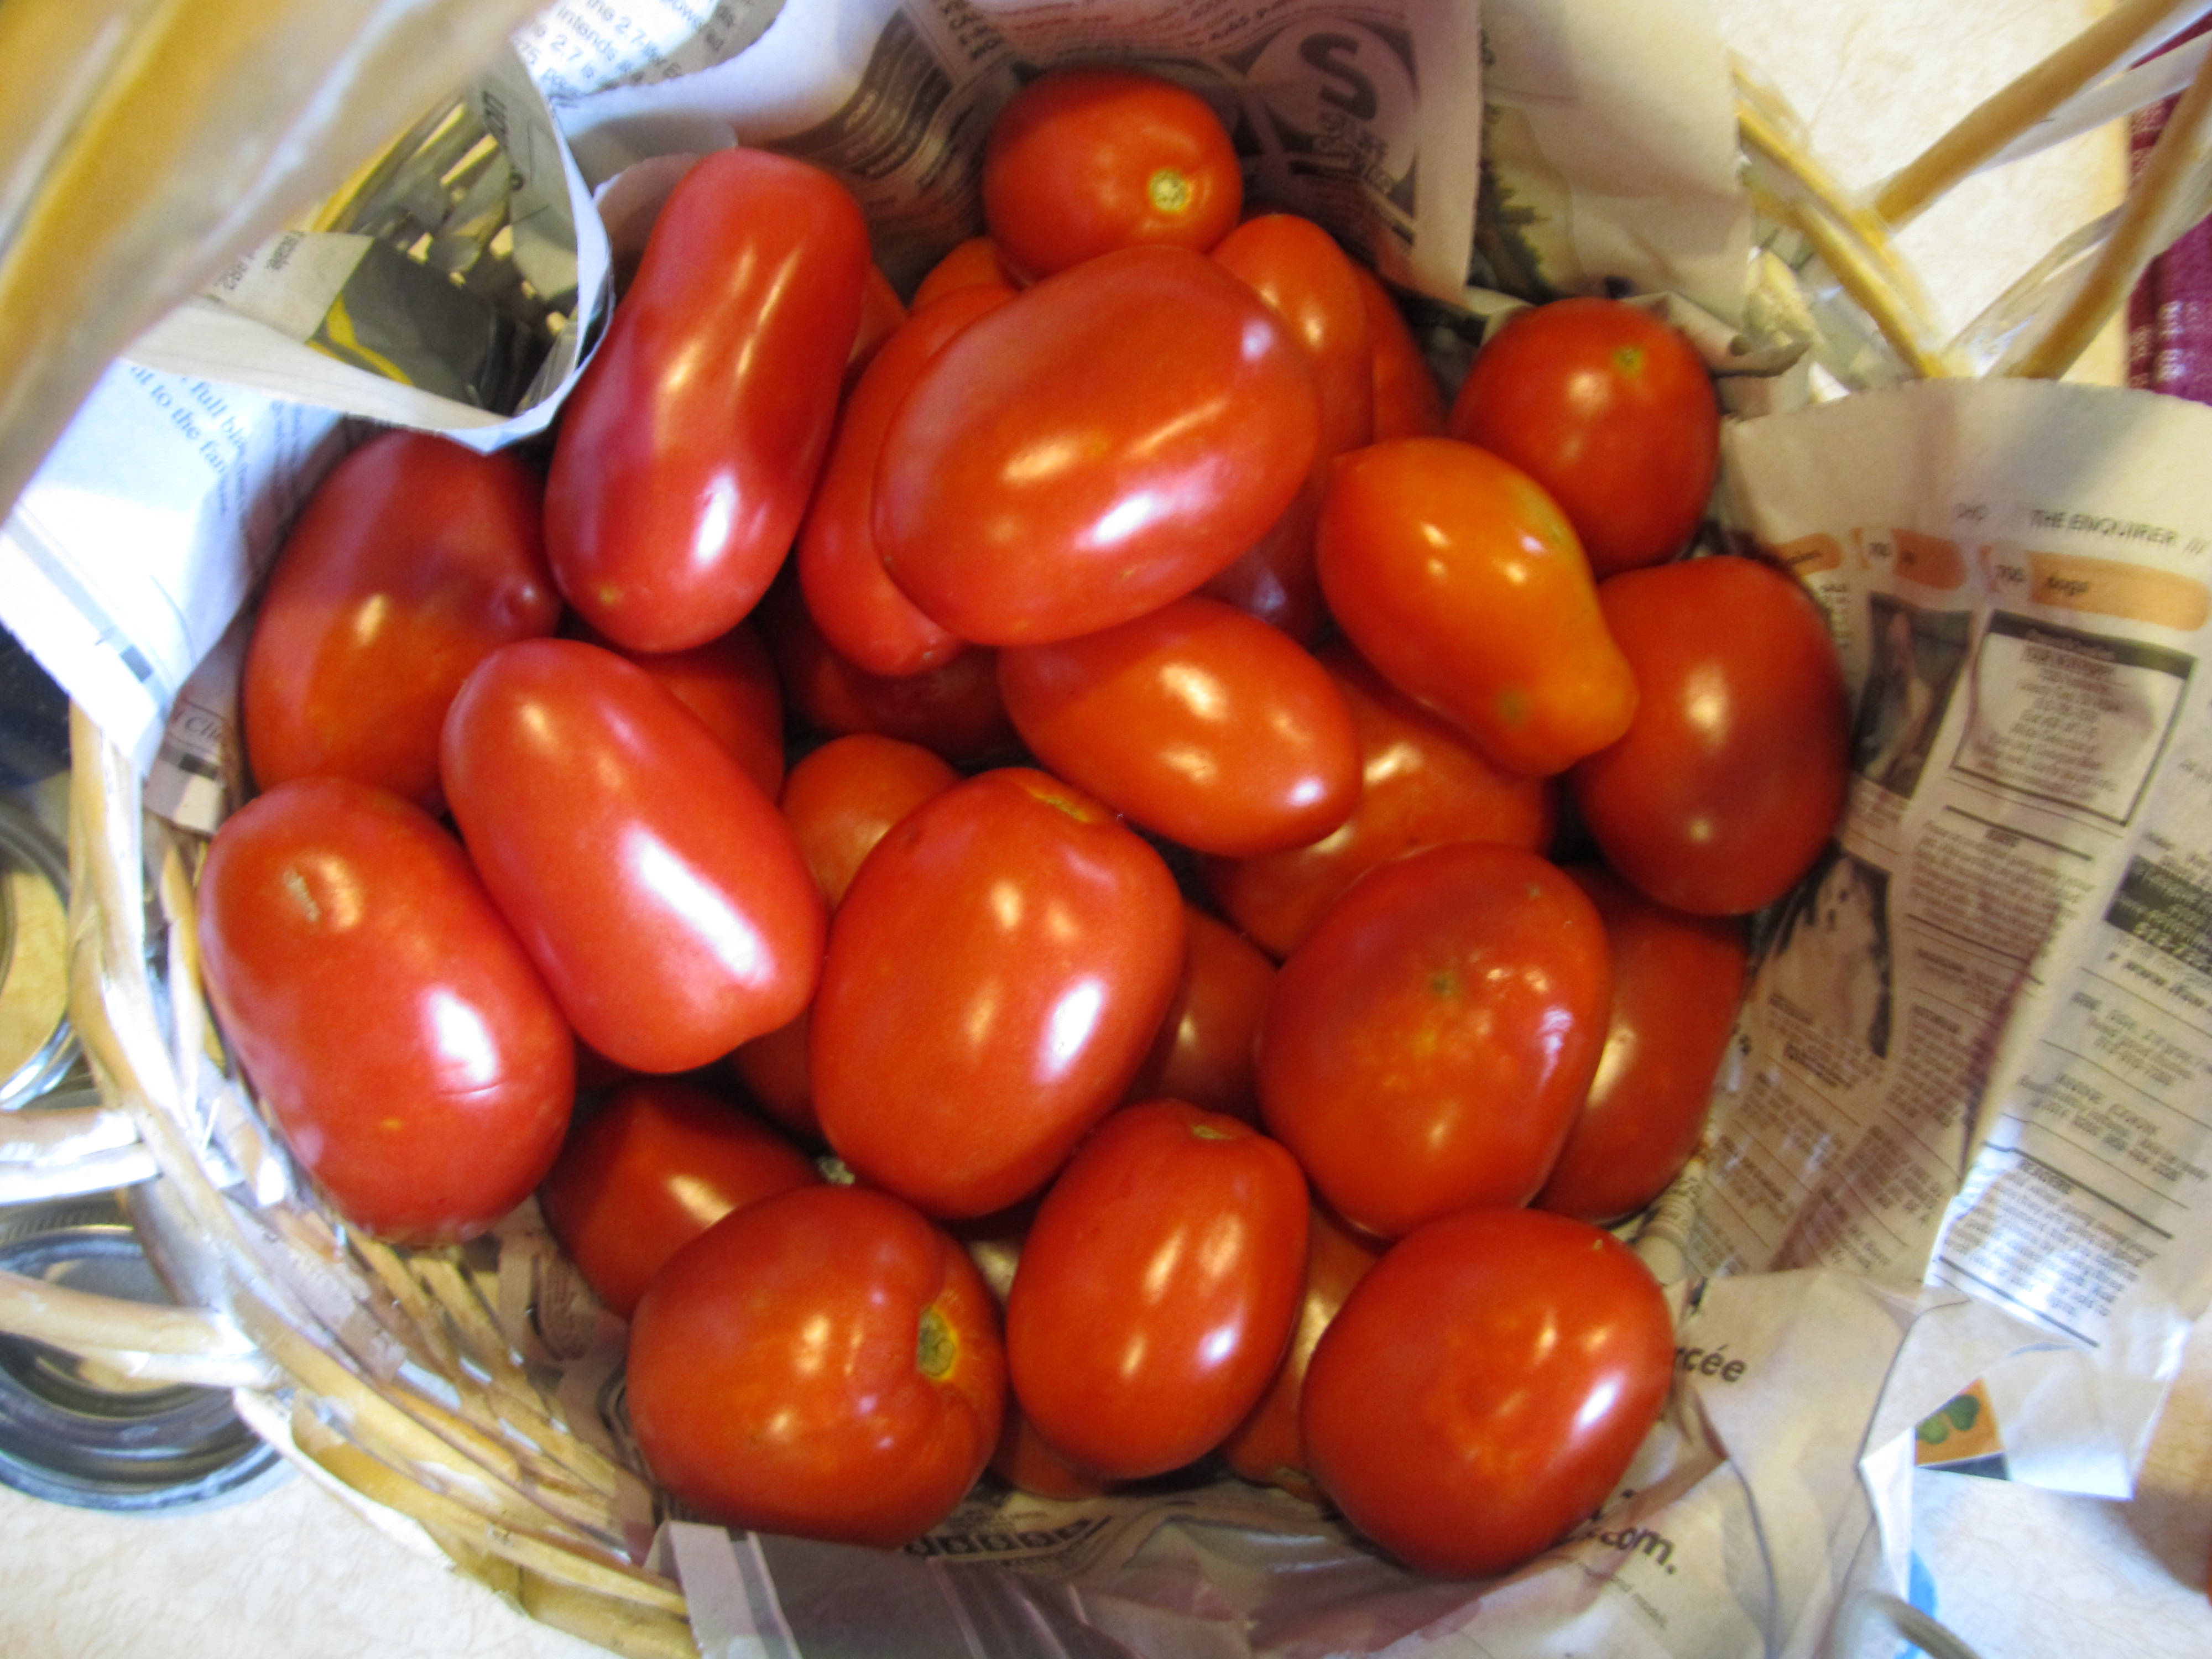
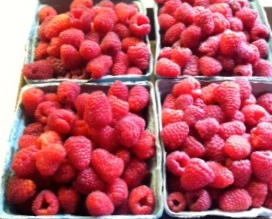
These are perfect gems for making tomato sauce.
What can you do with these? Roma tomatoes are great to eat fresh like apples, slice onto sandwiches, toss into salads, saute with garlic and olive oil and maybe a few other veggies, or prepare and preserve to use throughout the year. They are versatile and easy to grow in a garden or container and can be found in your grocery produce aisle, frequently at a reasonable price. While tomatoes are only in season in Indiana during July, August, and September, they can be preserved and eaten the other 9 months too! We love tomatoes in our house and I make sure to have plenty on hand in one form or another. I grow traditional globe shape tomatoes, specifically Jetstar and Supersonic, along with Pony Express Roma’s and Juliet grape tomatoes. I use all types to can but do prefer the Roma’s for sauce making.
I find canning tomatoes makes the most sense for me. While others spend hundreds of dollars a year buying tomato sauce, paste, diced, seasoned, or whole, I walk to my canning storage area and select tomatoes ready to use in a variety of ways: whole, unseasoned sauce, juice, soup, salsa, chili, pizza and spaghetti sauce. I do grow about 75 tomato plants in my garden, but you don’t have to grow that many to take advantage of preserving some for later use. I generally make different products each year depending on my supply. Last year I made tomatoes with okra, stewed tomatoes, chili, pizza and spaghetti sauce, along with my staple of whole tomatoes. This year I am canning whole tomatoes, soup, and sauce. I often dehydrate tomatoes too. We love tomato and herb bread hot out of the oven.
Whatever your situation, I encourage you to give canning tomatoes a try. Canning is a simple pleasure everyone should try at least once in their lives. You may find you enjoy canning and share a belief with countless others, including myself, that it is worth every second of time it takes to accomplish. If nothing else, you will develop a respect for what it takes for a product to go from ground to table.
I am going to share a recipe that may be adapted to meet your tastes or storage area. Use seasonings you and your family prefer and cut the recipe in half if you find it too big to manage as listed.
Seasoned Tomato Sauce
yields 14 pints or 7 quarts
45 pounds of tomatoes (a bushel of tomatoes weighs approx. 53 pounds)
6 cups chopped onions
12 cloves garlic, minced
1/2 cup olive oil
2 Tablespoons seasoning of your choice (oregano, basil, Italian spice blend)
6 bay leaves (optional)
1 tablespoon black pepper
1 1/2-2 1/2 Tablespoons sugar
1/4 cup salt
1-2 tsp crushed red pepper (optional)
lemon juice or citric acid (for use with low-acid tomatoes)*
*For effective canning high acid tomatoes are recommended because high acid aids to prevent spoilage. If you are unsure about the acid content, simply add 1/4 tsp per pint or 1/2 tsp per quart jar to ensure success.
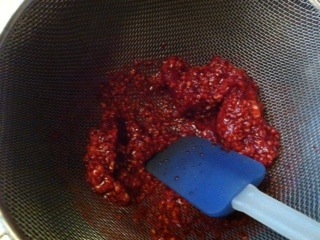
Wash tomatoes thoroughly and drain. Do not use cracked or spoiled tomatoes! Remove core and quarter. Blend tomato quarters in batches and pour into a large stock pot. For the full recipe, you will need a canner-size stockpot. Add the onions and garlic to tomatoes and cook on medium high heat. When the sauce has reduced by 1/3 add the oil, salt, sugar and seasoning. Simmer and stir frequently to prevent scorching until reduced by half.
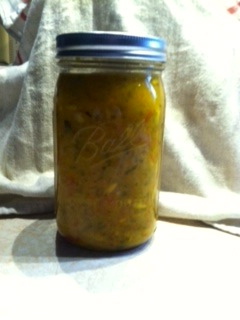
While the sauce is simmering, wash and rinse mason jars. This may be accomplished in the dish washer by running thru a cycle, or simply wash and rinse thoroughly with hot sudsy water. Add citric acid at recommended amounts above or add 1 Tablespoon lemon juice per pint jar or 2 Tablespoons lemon juice per quart jar. Ladle hot sauce into jars, leaving 1/2 inch headspace (distance between the product and the rim of the jar). Wipe the rim of jars to remove any food particles which will prevent a good seal. Boil the lids and simmer until ready to close jars. Adjust 2 piece caps. Process pints 35 minutes, quarts 40 minutes, in a boiling-water canner. After alloted time, remove jars with lifter and set undisturbed for 24 hours. You will hear the “ping” of the jars as they cool and the lid seals. Before storing, check to make sure the jar is sealed. Remove band and press on the lid. If sealed it stays put; if not it will pop up and down. Refrigerate any non-sealed jars and use within 3 days. Sealed jars should be wiped down and labeled with contents and date. Store in a cool dry place for up to one year.
* I keep canned goods up to 4 years as long as the jar remains sealed and the product looks good. Use your own judgement but realize millions of pounds of perfectly safe food is wasted each year because it falls beyond the expiration or sell by date. However, If in doubt about it’s safety, throw it out.
Recipe suggestions: To use simply check the jar for a clean seal and open. The sauce may be heated and used with pasta or in pasta dishes, baked over chicken, added to chili, cooked with rice and veggies, or any number of other delicious ways! Be creative and enjoy.
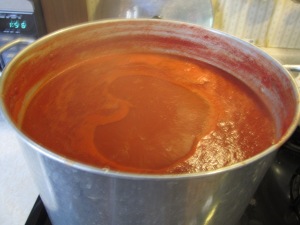
Simmer in a large stockpot until reduced by half, stirring frequently to prevent scorching.
Many people share with me their fear of eating home canned food. Somewhere along the line, the general public has been led to believe they are incapable of taking care of their own needs. I urge you to overcome this fear, follow a recipe, gain general knowledge of home-canning practices, and begin canning the things you love most! My family has lived on home-canned foods for over 30 years with no ill effects. I know exactly what went into the jars and feel great I am providing safe, tasty, and economical meals all year long. If you have fears, give me a shout and I will talk you through the process if necessary.
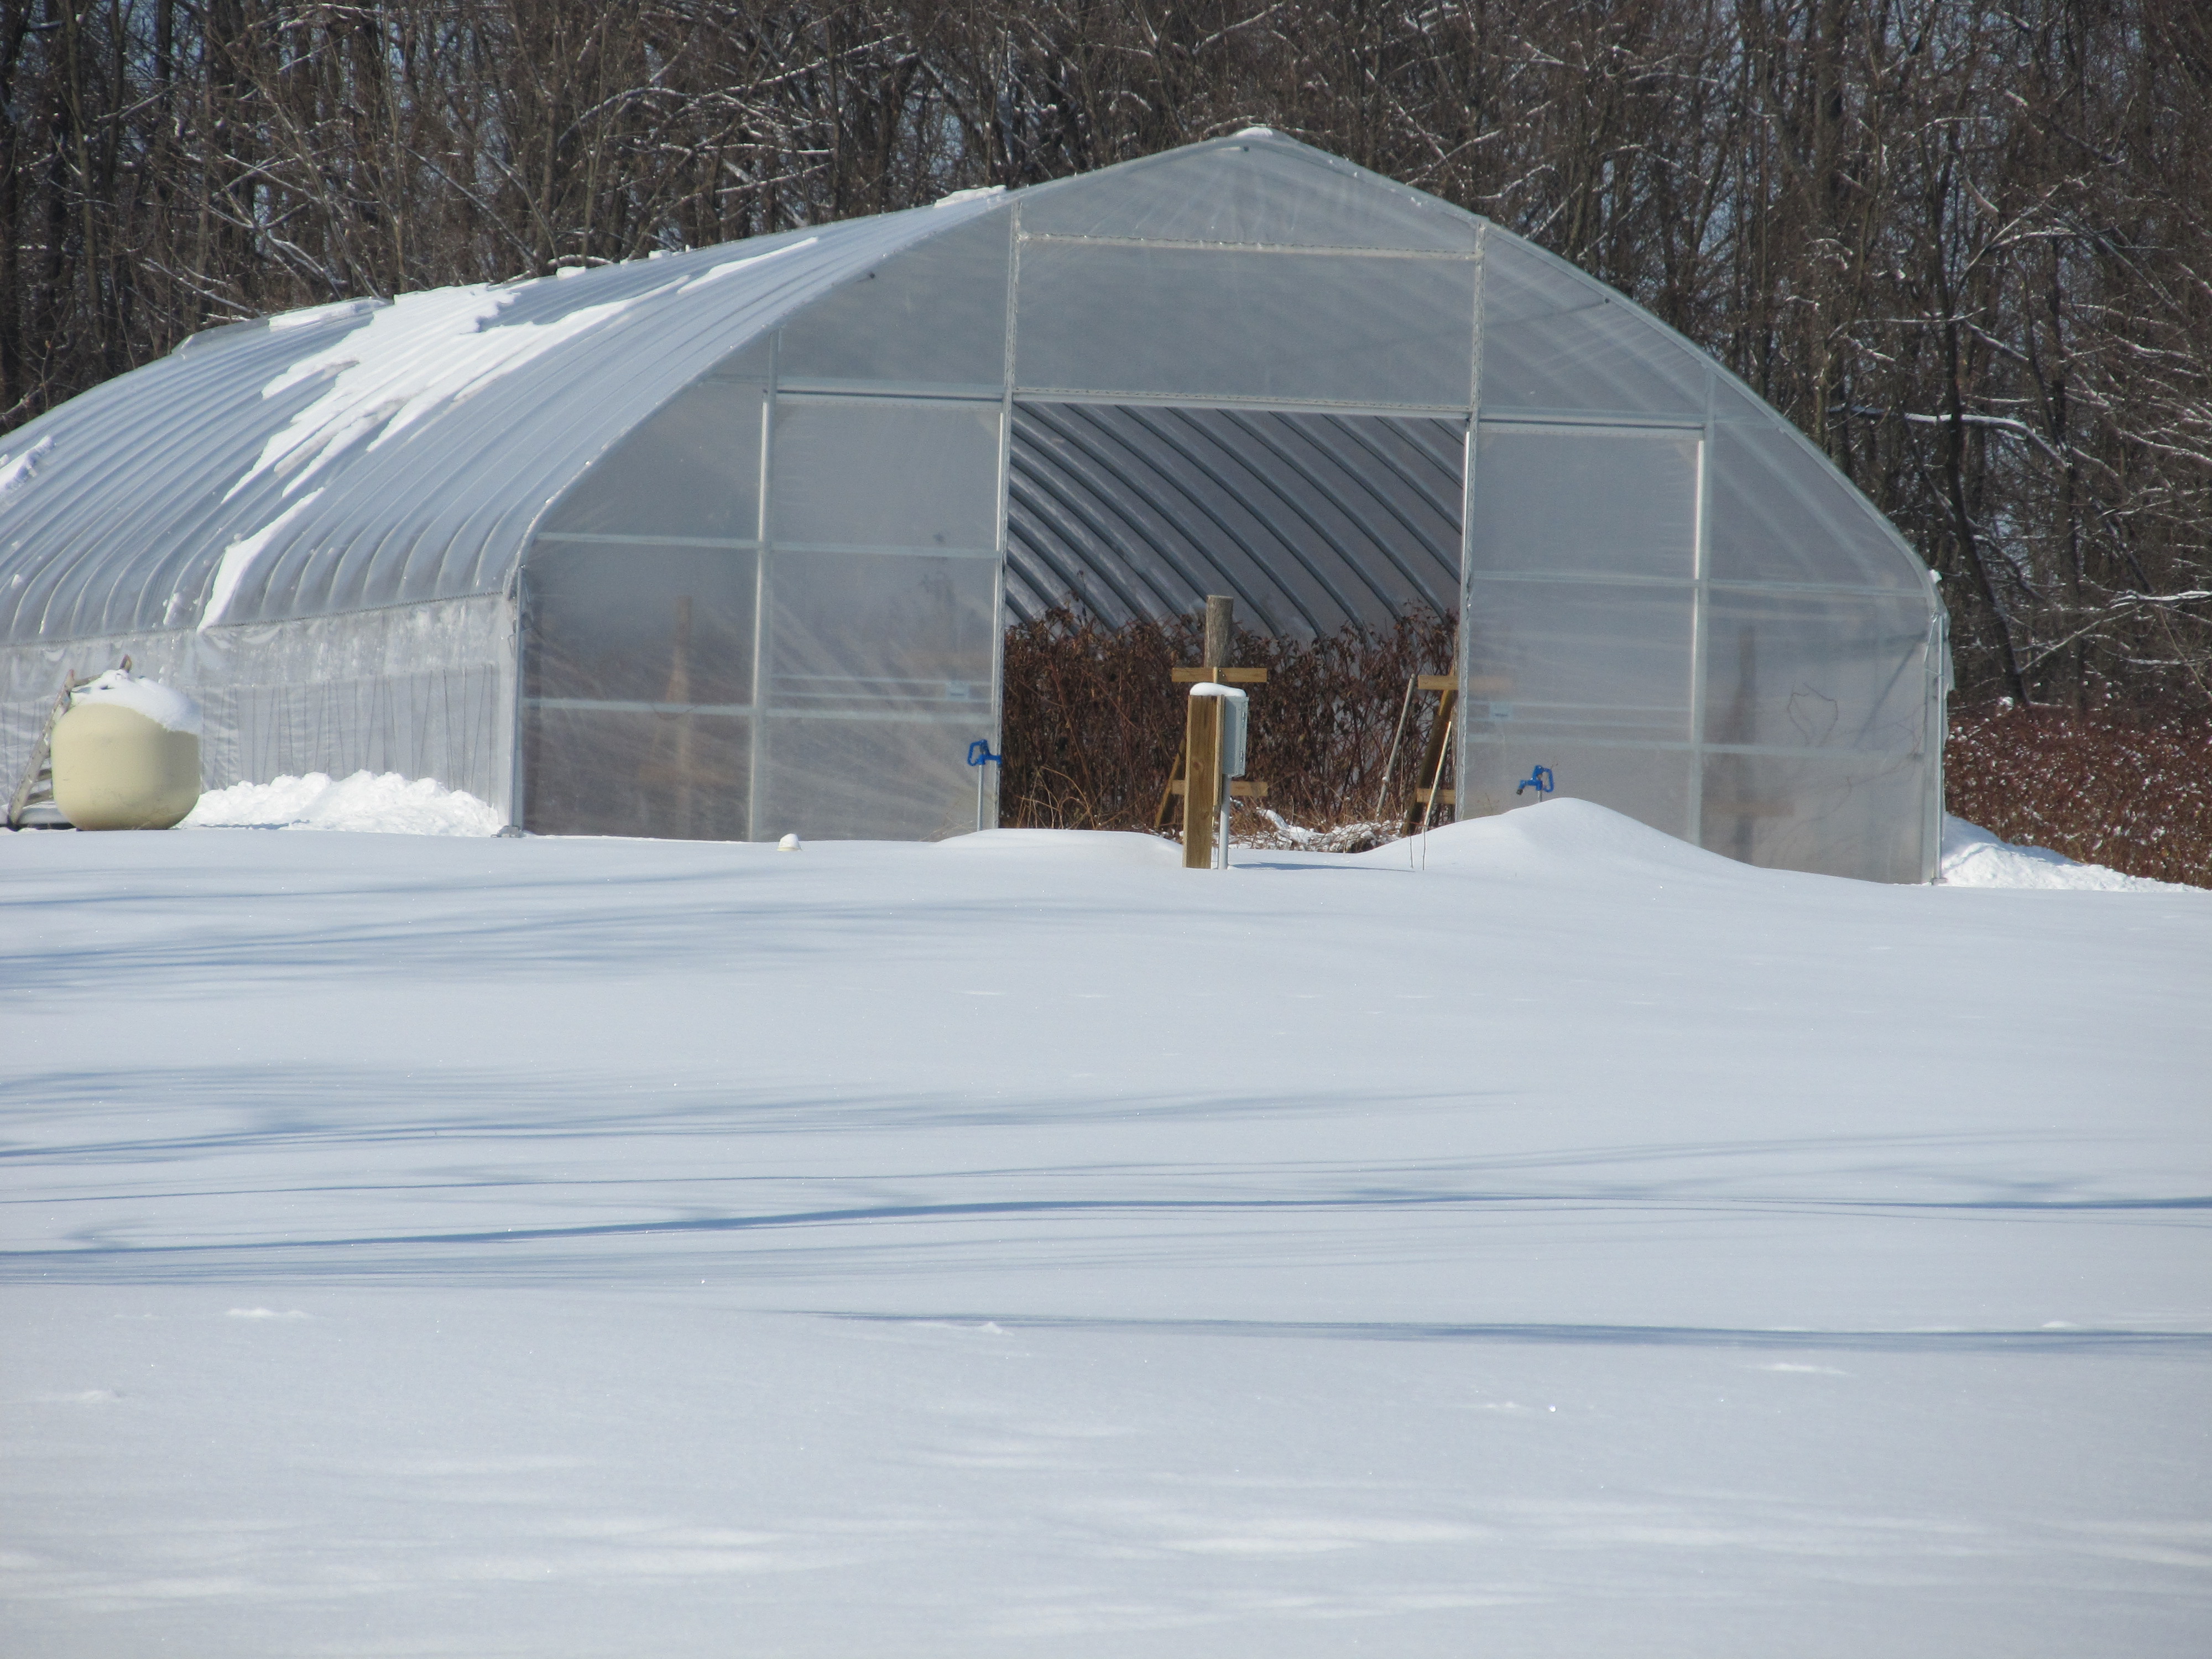
Next year I am planning a canning workshop in June to be held at Quarteramish Farm to help anyone learn this time tested process of home food preservation. Contact me if interested and check the Facebook page for updates.